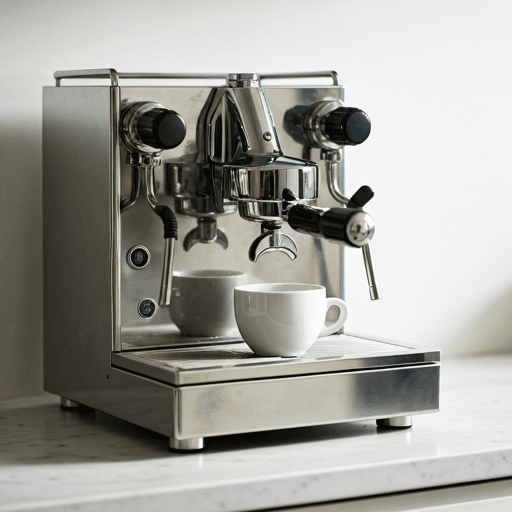
Once you move past a frying pan or a popcorn popper, a dedicated electric coffee roaster makes home roasting far more consistent and far less hands-on. You load a measured batch of green beans, the machine applies controlled heat and airflow, and you steer the roast to a repeatable result instead of shaking a pan and hoping. This guide walks through how these machines work and how to run a roast session from charge to cool, step by step. For the wider beginner picture, including no-machine methods, see our home coffee roasting guide.
What an electric coffee roaster does
An electric coffee roaster is a countertop appliance built to do one job well: apply steady, adjustable heat to green coffee beans while keeping them moving so they roast evenly. Movement matters as much as heat. If beans sit still, they scorch on one side; a good machine tumbles or lifts them constantly so color develops uniformly. Compared with a pan or popper, roasting coffee with a roaster gives you more control over temperature and airflow, more consistency batch to batch, and far less babysitting. If you want the mechanics of the wider category, our explainer on what a coffee roaster does covers the heat-transfer basics that apply at any scale.
What you gain is repeatability. What you trade is that this is a real appliance to buy, house, power, and clean, rather than gear you already own. For most people who roast more than a few times, that trade is worth it.
Air vs drum: the two home roaster types
Home machines split into two families, and they roast differently. Knowing which one you have (or want) shapes every setting you choose.
Air / fluid-bed roasters
An air coffee roaster, also called a fluid-bed roaster, pushes hot air up through the beans with enough force to lift and swirl them, like corn in an air popper. Heat transfer is fast and very even, and because the beans are visible and in constant motion, it is easy to watch color develop. Air roasters tend to finish quickly, often in roughly 5 to 10 minutes, and they shed chaff aggressively into a collector. They favor bright, clean flavors and are forgiving for beginners.
Drum roasters
A drum roaster tumbles beans inside a rotating heated cylinder, closer to how a commercial machine works. Heat comes mostly by conduction from the hot metal plus some airflow, so there is more thermal mass in play. Roasts run longer, often 12 to 20 minutes, and the extra mass can build more body and a rounder cup. Drums usually handle bigger batches but hide the beans from view, so you lean more on sound, smell, and time.
| Roaster type | How it roasts | Pros | Cons |
|---|---|---|---|
| Air / fluid-bed | Hot air lifts and swirls the beans (convection); fast and even | Quick roasts, very even, easy to see color, sheds chaff well, beginner-friendly | Smaller batches, can feel less controllable at the finish, brighter than bodied |
| Drum | Rotating heated drum tumbles beans (conduction plus airflow); more thermal mass | Bigger batches, more body and even development, closer to commercial behavior | Longer roasts, beans hidden from view, more chaff and smoke to manage |
Neither is "better." Air machines reward speed and visibility; drums reward patience and body. If you are still deciding which to buy, hand that question to our guide to coffee roaster machines, which compares the categories in more depth. This page is about running one you already have.
How to roast a batch on an electric coffee roaster
The exact buttons vary by model, so always read your manual first. But the shape of a roast session is the same on almost any electric coffee roaster. Here is the sequence.
- Preheat if the machine calls for it. Some roasters want to reach a set charge temperature before you add beans; others start cold. Preheating gives you thermal momentum so the roast does not stall early.
- Charge (load) a measured batch. Weigh your green beans and stay within the machine's stated range. Expect beans to lose roughly 15 to 20 percent of their weight as moisture cooks off, so weigh green in, and weigh roasted out to track yield.
- Run the heat and airflow. Start the drum or blower and let the beans dry and yellow. They will smell grassy, then bready. This drying phase sets up everything that follows.
- Listen for first crack. Around 196C / 385F you will hear a sharp popping, like light popcorn. This is first crack, and it marks the start of drinkable roast levels. Note the time.
- Hold for your development time. The stretch after first crack decides the roast. A short hold (often around 1 to 2 minutes) keeps it lighter and brighter; a longer hold pushes darker and rounder. For what each stage tastes like, see coffee roast levels explained.
- Stop at your target level. Pull the roast where you want it, before or just into second crack (a quieter, crackling snap around 224C / 435F). Going past second crack heads into dark, oily, smoky territory fast.
- Run the cooling cycle promptly. Beans keep roasting from residual heat, so cool them quickly. Most machines have a cooling cycle that blows air through the batch; if not, dump into a metal colander and stir or use a second fan. Fast cooling locks in your target.
After cooling, let the beans rest and degas for about 12 to 48 hours before brewing, then store them airtight and use within a couple of weeks for peak flavor. Roasting shines a light on bean quality, so start with fresh, single-origin greens if you can.
Managing chaff, smoke, and ventilation
Two by-products come with every roast. Chaff is the papery skin that flakes off as beans expand; air machines fling it into a collector, drums leave more of it loose. A chaff container left full is a genuine fire risk, so empty it every session. Smoke builds as roasts get darker, and indoors it is real. Roast under a strong range hood, next to an open window with a fan, in a garage, or outdoors. Good ventilation is not optional for dark roasts; it is the difference between a pleasant hobby and a smoke alarm.
Settings, profiles, and repeatability
The whole point of using a coffee roaster instead of a pan is that you can repeat a result. Treat each roast like a recipe: log the bean, batch weight, ambient temperature, any heat and fan settings, the time to first crack, and your total roast time. When a batch tastes great, you can reproduce it; when one misses, your notes tell you what to change. Higher-end machines let you save profiles or adjust heat and airflow through the roast, but even a basic timer-plus-log habit turns lucky roasts into repeatable ones.
Batch size, cleaning, and maintenance
Respect the batch limits. Overloading a home coffee roaster machine chokes airflow, roasts unevenly, and can overheat the motor; underloading can scorch a thin layer of beans. Stay in the recommended window. For upkeep, empty and wipe the chaff collector after every use, clear any mesh screens or the roast chamber regularly (oils and dust are the usual culprits behind smoke and, worst case, fire), and follow the manual for deeper cleaning. A clean machine roasts more evenly and lasts longer.
How this differs from stovetop or DIY roasting
Pan, oven, and popcorn-popper methods are cheap, fun, and a great way to learn what roasting sounds and smells like. But they are hands-on and inconsistent: you are managing heat and movement yourself, and no two batches match. A dedicated electric roaster flips that. You get more control, better consistency, and much less babysitting, in exchange for buying and maintaining a real appliance. If you have not tried the no-machine route yet, our beginner home roasting overview covers those methods first; a roaster is the natural next step once you know you love it.
The bottom line
An electric coffee roaster does not make you a better roaster on its own, but it removes most of the guesswork. Learn your machine's charge, first crack, development, and cooling rhythm, keep notes, manage chaff and smoke, and you can turn green beans into exactly the roast you want, again and again. From there it is all bean choice, freshness, and taste, which is the fun part.