
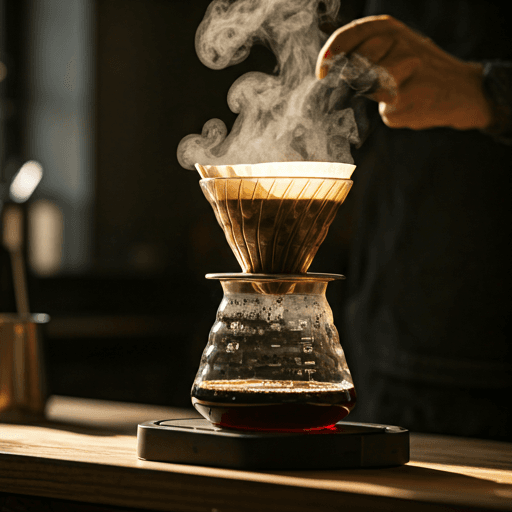
If you want to know how to make dulce de leche cold foam, here is the short answer: it is a smooth, milky-caramel cap of cold-frothed milk flavoured with dulce de leche - the slow-cooked sweetened-milk caramel of Latin America - whipped cold until it is thick enough to float on cold brew or iced coffee for a toffee-sweet, creamy layer. You whisk a little dulce de leche into cold milk until there are no lumps, froth it cold, and pour it slowly over your drink. That is the whole idea, and the rest of this guide fills in the amounts, the texture tweaks and the small details that make it work every time.
What dulce de leche cold foam is
Cold foam is exactly what it sounds like: milk that has been aerated cold rather than steamed hot. Instead of the dense, warm microfoam you get from a steam wand, cold foam is light, glossy and pourable, so it sits on top of an iced drink and slowly folds down into it as you sip. A dulce de leche cold foam is that same airy cap, sweetened and flavoured with dulce de leche so it tastes of soft toffee and warm milk. If you want the full background on the technique, the what is cold foam explainer covers where it came from and why it behaves the way it does.
It helps to line cold foam up against two things people confuse it with. Hot milk foam - the kind on a cappuccino - is steamed, warm and meant to be drunk right away with the coffee underneath. Whipped cream is heavy cream beaten with air until it holds a stiff peak and mostly stays put. Cold foam sits in between: it is airier and lighter than whipped cream, it is made cold, and it is loose enough to pour. That pourability is the whole point, because it lets the foam trickle down through iced coffee in ribbons instead of sitting on top like a lid.
Dulce de leche is a milk caramel, not a sugar caramel
This is the detail that changes the flavour, so it is worth getting straight. Dulce de leche is a milk caramel - it is made by cooking sweetened milk slowly until the sugars and milk proteins brown together and the whole thing turns golden, thick and toffee-like. It is a staple across Latin America and Mexico, spooned onto toast, folded into desserts and stirred into coffee. Because the base is milk, a milk caramel cold foam made with it tastes milkier, softer and more toffee-toned than a foam built on a dark cooked-sugar caramel.
That contrast matters when you choose your flavouring. A dark sugar caramel - sugar melted to an amber syrup - gives a sharper, more bittersweet, almost burnt-edged sweetness. If that is the flavour you are after, follow the caramel cold foam guide instead, which is built around exactly that kind of caramel sauce or syrup. Here we are staying with the gentler, creamier milk-caramel route. If you like the plain, lightly sweet cream cap, the sweet cream cold foam recipe is the neutral cousin of this one - a dulce de leche foam is essentially that same sweet-cream idea with a spoon of toffee stirred through.
How to make dulce de leche cold foam
The method is simple, and the only trick is getting the dulce de leche fully dissolved so the foam whips up smooth. Dulce de leche is thick and sticky straight from the jar, so it does not always want to blend into cold milk. Warming the milk very briefly - just enough to loosen the caramel so it dissolves - helps it disperse, and then you chill it back down before you froth, because cold foam only whips properly when it is genuinely cold.
Ingredients
- A few tablespoons (about 60-90 ml) of cold milk, or a milk-plus-cream mix for a richer cap
- About 1-2 teaspoons of dulce de leche, to taste (more makes it sweeter and thicker)
- An optional drop of vanilla extract
- An optional tiny pinch of salt, which lifts the toffee note
- Your iced coffee or cold brew, ready in the glass
Step by step
- If your dulce de leche is very stiff, warm the milk gently for a few seconds - a short spell in a microwave or a warm pan is plenty - so the caramel will dissolve. You are only loosening it, not heating it through.
- Whisk or blend the dulce de leche into the milk until it is completely smooth, with no lumps or streaks. A small handheld frother, a mini blender or a jar with a tight lid all work. Add the vanilla and salt now if you are using them.
- Chill the mixture back down if you warmed it. It should be cold before the next step.
- Froth it cold. Run a handheld frother, a French press plunger or a battery whisk through it, or simply seal it in a jar and shake hard, until it thickens from thin liquid into a soft, pourable foam that holds its shape for a moment on a spoon.
- Pour it slowly over the back of a spoon onto your iced coffee or cold brew so it floats on top instead of sinking straight in.
- Drizzle a little extra dulce de leche over the foam if you like, and serve right away.
That is the complete dulce de leche cold foam recipe. Once you have made it once, you will find the amounts easy to eyeball, and you can nudge the sweetness up or down to suit the coffee underneath.
Milk choices and how they change the texture
The milk you start with decides how thick and stable the foam ends up. Higher fat and higher protein give a sturdier, longer-lasting cap; lean or watery milks froth up lighter and fall faster. Here is a quick guide to point you in the right direction.
| Milk choice | Texture and behaviour |
|---|---|
| Whole dairy milk | Reliable all-rounder - thick, glossy foam that holds well; the easiest place to start. |
| Milk plus a splash of cream | Richest and most stable - a dense, spoonable cap with the most toffee-cream body. |
| Low-fat or skim milk | Whips up airy and voluminous but thinner; it collapses faster, so pour and drink promptly. |
| Barista-style oat milk | The most dependable dairy-free option - its extra protein and fat froth into a smooth, steady foam. |
| Almond or coconut milk | Lighter and looser foam; a barista blend with added protein holds far better than a thin drinking version. |
Getting it smooth and the right thickness
Two things decide whether your foam looks like a coffee-shop cap or a lumpy puddle. The first is blending. Because dulce de leche is so thick, any bit that has not dissolved will show up as gritty specks in the foam, so keep whisking or blending until the mix is uniform before you start frothing. The brief warm-then-chill trick is the surest way to avoid lumps.
The second is thickness, and you control it with two dials: how much dulce de leche you add and how much cream is in the mix. More dulce de leche makes the foam sweeter and heavier; adding cream makes it denser and slower to melt into the drink. If your foam comes out too runny, froth it a little longer or add a splash more cream next time. If it is so stiff it will not pour, loosen it with a little more cold milk. Aim for a texture that flows off the spoon in a slow ribbon and settles on top of the coffee - that is the sweet spot for a dulce de leche foam coffee that layers cleanly. For more on the base technique and troubleshooting, the how to make cold foam guide goes deeper on frothing tools and consistency.
Make ahead and keeping it cold
You can whisk the dulce de leche into the milk ahead of time and keep the flavoured base covered in the refrigerator, then froth a fresh batch when you want it - cold foam is quick to re-whip and always looks best made to order. Frothed foam does not store well, so aerate only what you will use.
A quick, non-medical food-safety note: this is fresh dairy, and an opened jar of dulce de leche is perishable too, so keep both cold, store the base in the refrigerator, and use it within a day or two. Do not leave the foam or the milk sitting out at room temperature, and when in doubt, throw it out. Beyond that, it is a simple, everyday treat - a toffee-sweet cap that turns a plain glass of cold brew into something that tastes like a caramel dessert.